
In this post, we will look at how to install a saddle valve (costs and maintenance in 2023). Typically, these devices are used to install a 1/4″ water supply line, which is typically fed by ice machines and whole-house humidifiers. They are fast and cheap to install on a DIY basis, and you can do it on your own.
If you are looking for information about saddle valves, then you are in the right place at Linquip. Our experts can always help you find the right valves for you based on your needs, so you can always rely on them for guidance. It would be beneficial for you to read Linquip’s article on “What is Industrial Valves? Working Principles & Applications” if you would like to get a basic understanding of these devices.
Are you familiar with them beforehand? Linquip’s selection of Valve Products enables you to find the valve that you are looking for. Is your valve in need of any special services? You may have found yourself in a situation where you found yourself in need of a repair and maintenance guide for a saddle valve, and you couldn’t find one on the internet? With Linquip’s platform, you can access all Valve Service Providers for free. As an additional benefit, if you are looking to find saddle valve prices, you can do so by submitting a request/inquiry to all Valve Companies and Suppliers via the Linquip platform without having to pay anything.
Our article begins with a very concise but essential description of saddle valves, followed by an examination of their installation process and the costs, as well as with maintaining them.
What Is Saddle Valve?
To connect a water supply tube to an appliance such as an ice maker or humidifier, you will need to connect the tube to a water supply line. On copper pipes, these functions can be achieved using special fittings known as saddle valves or needle valves. Generally, a saddle refers to the shape of a valve mounted on a pipe; the term needle refers to the hollow, sharp needle within the valve, which punctures the pipe after it has been mounted.
With the valve attached to the water supply pipe through its saddle bracket, the sharp needle is then screwed into the pipe, puncturing its wall and allowing water to enter. Saddle valves are usually designed for use with rigid copper pipes; they should not be used with PVC, CPVC, or PEX plastic pipes. Furthermore, they can also handle water pressures up to 125 psi.
A saddle valve is used mainly to tap into an existing water supply pipe so that a new supply pipe can be connected. This type of installation is usually used when a refrigerator equipped with a water dispenser, an ice maker, or a water filtration system is installed in an area that did not have one previously. As an alternative to installing a T-fitting or T-valve on an existing water pipe, a self-piercing saddle valve can be installed without the need to turn off the water supply or cut into existing pipes. Installers often opt for self-saddle valves because they can sometimes be a more economical alternative than large plumbing projects.
Here is a link that will provide you with more information about saddle valves.
Costs of Saddle Valve Installation
By installing a metal clamp to a water pipe and tightening a needle valve, saddle valves are installed. You do not need to cut pipes, solder, or use special tools to accomplish this. A DIY job.
| Item | Cost |
| Saddle valve cost | $10 |
| Tools and equipment cost | $8 to $10 |
Start by obtaining the necessary parts for replacing a saddle valve or teeing off an existing water line. This saddle valve is likely connected to a 1/2″ copper water line. As long as you are experienced in soldering copper tubing and have the equipment you need, you can do this project for about $10. If not, the project will cost approximately twice as much when using a push-fitting tee.
No matter how you connect the copper fittings or whether you use push-fitting, you will need a pipe-cutting tool. To complete this project, we need a 1/2-inch copper tee or push-fit tee, 1/2-inch copper tubing, and a stop valve with a 1/2-inch copper tubing inlet and a 1/4-inch compression outlet. Interestingly enough, the cost of a 14-turn push fitting valve goes for only $8.72, while the price of a multi-turn compression valve, which is inferior in every way, goes for $9.76.
Tips & Guidelines for Installing A Saddle Valve
The saddle valve installation is a simple task even if this is your first time working with plumbing. To do it, follow these steps carefully.
There is a risk that you won’t be allowed to install the saddle valve even if it came with an appliance installation kit. Ensure that such installation is compliant with your local plumbing code before proceeding.
- Step 1. Install the saddle valve on a cold water supply pipe that is located as close as possible to the appliance you’re watering. It is more prone to be damaged if the supply tube is longer.
- Step 2. Shut off the main water supply valve. You may need to shut off both valves if there are two. When shutoff valves are not used for a very long time or if they are used very often, they start leaking around the stem. To stop the drips, try tightening the packing nut again (below the handle).
Occasionally, you might not be able to stop the leak using this method, and in that case, you will need to call the plumber (returning the valve to the position you started from might sometimes work).
- Step 3. To relieve the pressure, open a faucet preferably located beneath the saddle valve installation.
- Step 4. Ensure that the section of pipe on which the saddle valve rubber gasket will be installed is clean. This small area should be free of paint, corrosion, dirt, and anything else that might prevent a watertight seal. The task can be accomplished with sandpaper (as fine as possible), steel wool, or even a kitchen sponge and soap. Once the task is complete, wipe the area clean with a cloth.
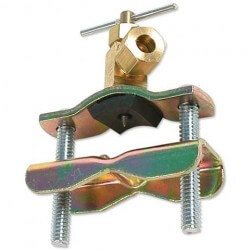
- Step 5. Make sure the saddle valve is prepared – attach the top section of the clamp to the valve, and tighten it. Inspect the packing nut. You shouldn’t be able to turn it in any direction by hand. The rubber gasket goes around the saddle valve piercing pin; proceed with caution; the pin is quite sharp.
The gasket should perfectly fit into the clamp curve. Turn the saddle valve handle counterclockwise so that the piercing pin is retracted approximately 1/8″ into the rubber gasket for copper pipe installation.
Bolt one side of the bottom clamp to the saddle valve top clamp (make just a few turns), or you can bolt both sides after you’ve placed the valve over the pipe (whatever is more comfortable for you).
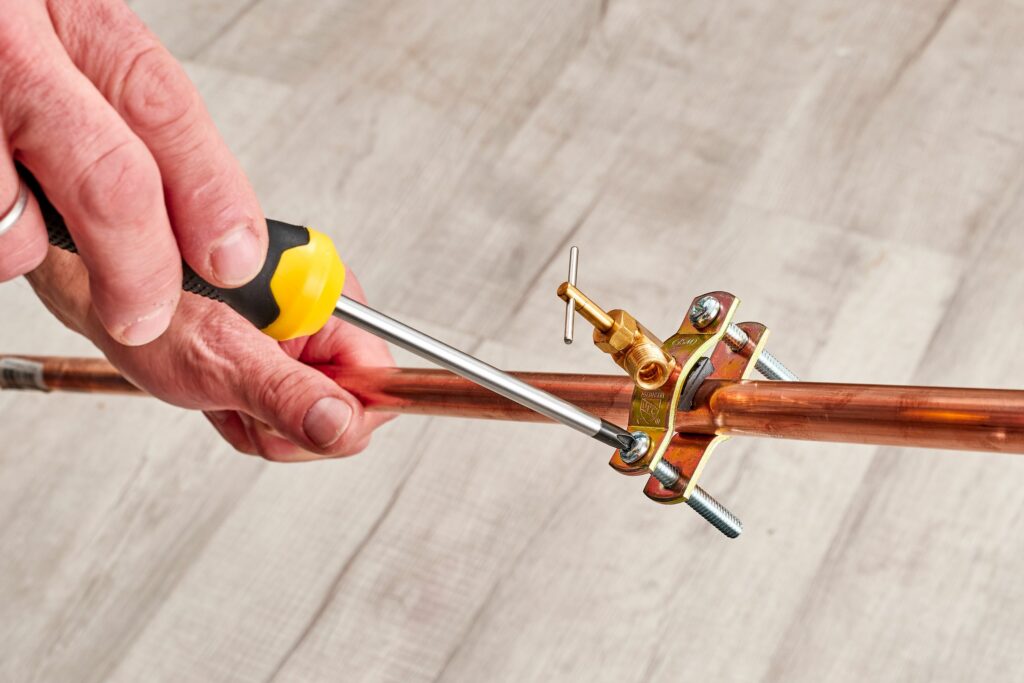
- Step 6. With the rubber gasket placed over the cleaned area, connect the saddle valve to the cold-water copper pipe. As you hold the top and bottom parts of the clamp with one hand, install the second bolt with the other.
Both bolts should be able to be turned with your fingers until the clamp touches the pipe firmly. Use a flat tip or Phillips screwdriver for the final turns (depending on your valve’s bolt type). Tighten the clamp bolts equally.
If the saddle valve rubber gasket gets a little compressed, stop turning – it doesn’t take much force to crush the copper pipe.
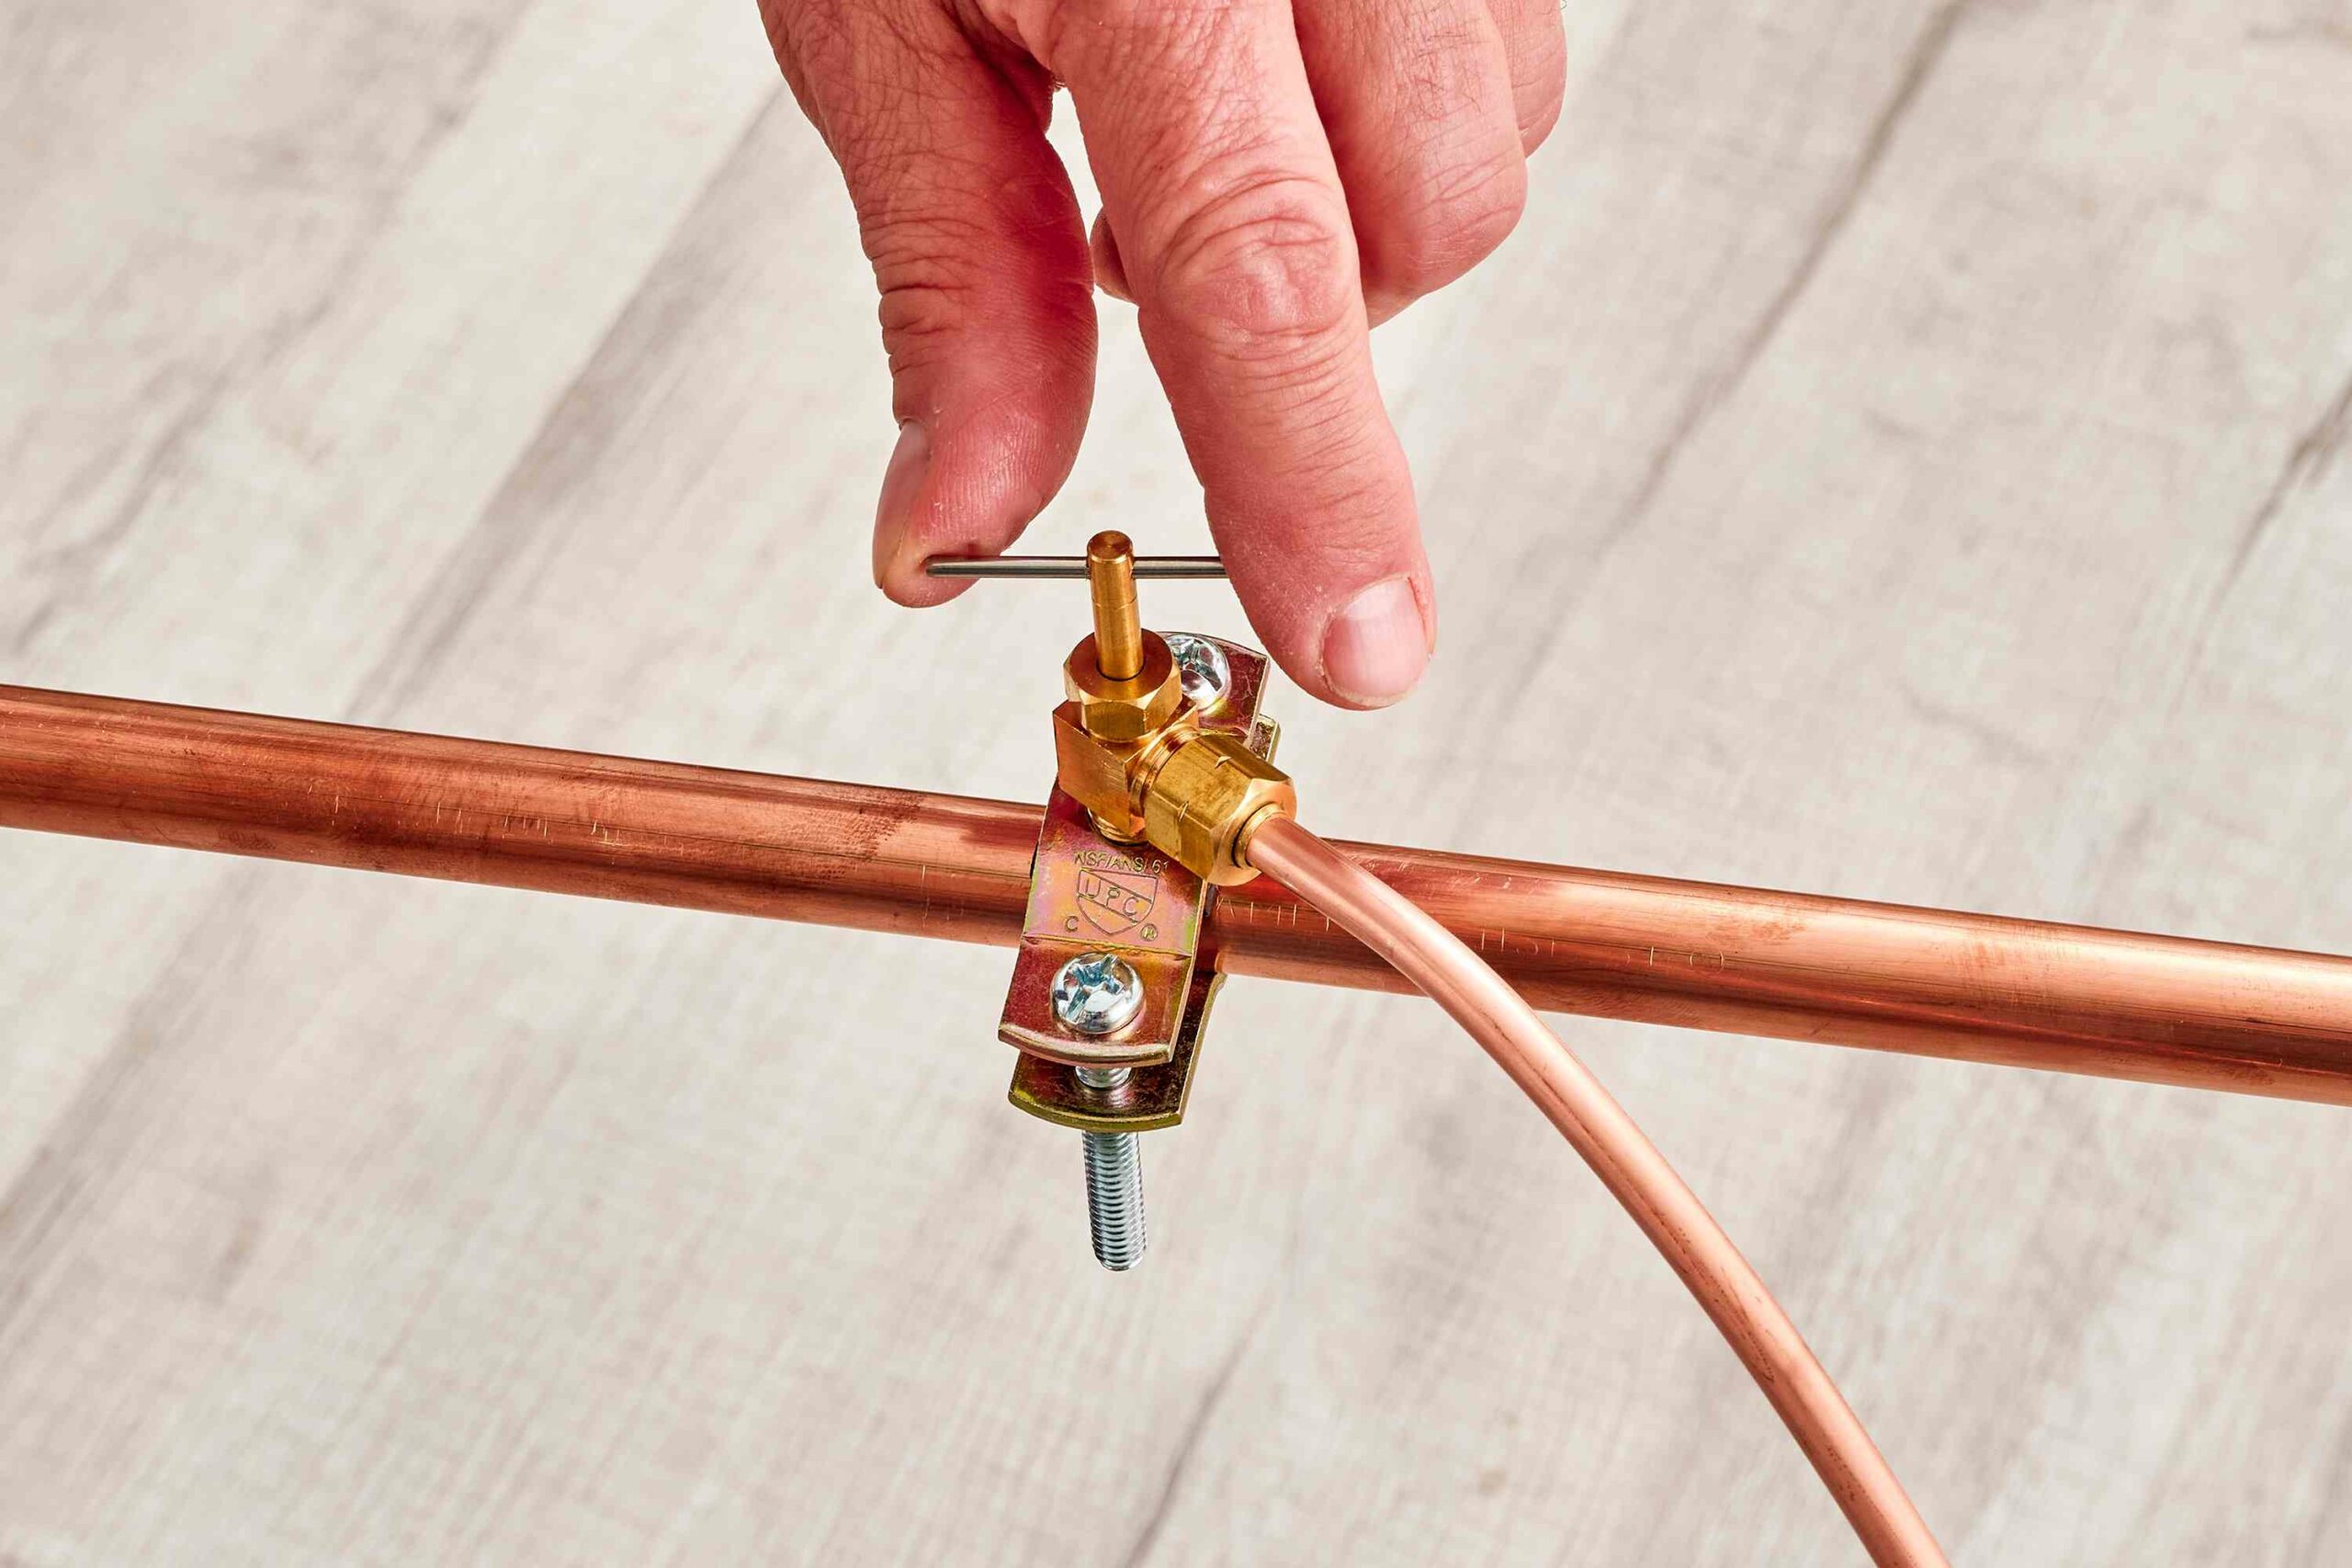
- Step 7. Start turning the valve handle clockwise if the saddle valve is mounted on the copper pipe. When you penetrate the pipe wall, you will feel some resistance, so keep going until you can’t turn the handle anymore. Once you’re done, about 7/16″ of the stem should remain above the packing nut – the saddle valve is now closed.
- Step 8. Now is the time to test the saddle valve installation. Shut off all faucets you have already opened before you open the water shutoff valve. If you would like, you can install a plastic or copper water line from the saddle valve into a bucket, sink, floor drain, etc.
- Step 9. The water shutoff valve(s) must be opened, and a saddle valve handle must be turned counterclockwise until water is running. With the valve handle turned, the flow can be adjusted; for the majority of applications, it should be all the way open. Once you have tested the valve, close the valve and continue to work on your appliance.
Saddle Valve Maintenance
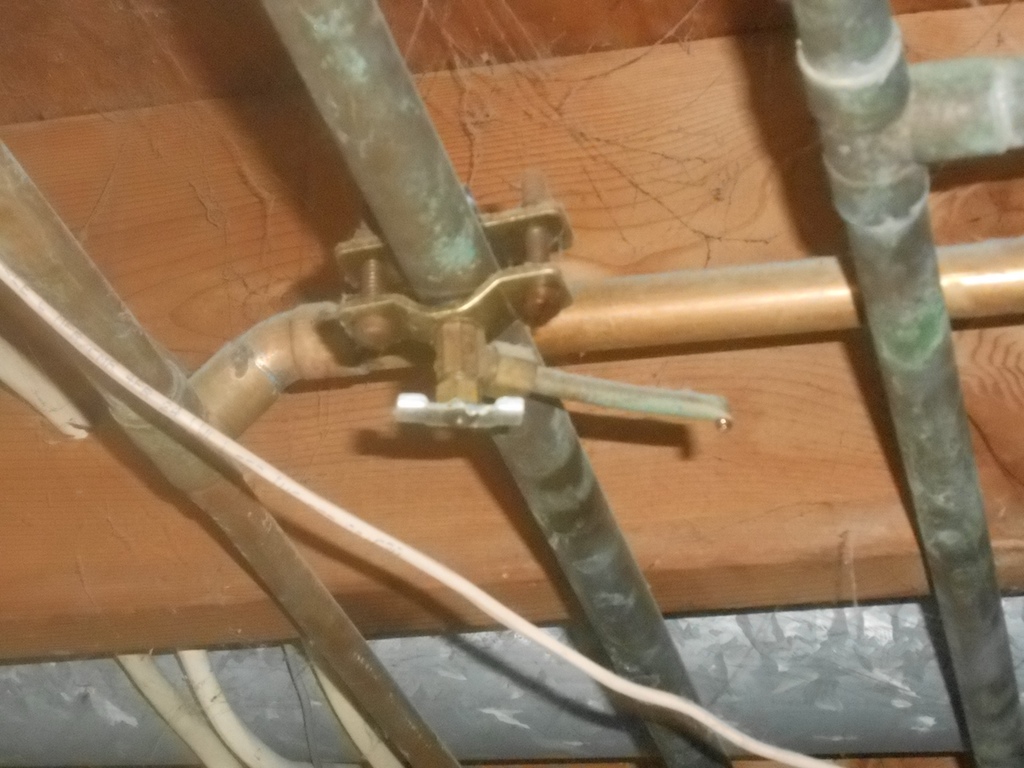
It is very common for saddle valves to leak, and all plumbers and building inspectors will tell you this. The main reason why they are so widely used is that they require no plumbing skills to install. The majority of saddle valves have been reliable and leak-free for many years, but since these devices have a mixed record, they should be used only where they are completely visible and can be checked periodically. Saddle valves should never be installed inside a wall or floor cavity. Leaks in hidden locations are likely to cause significant damage before they are discovered.
Potential points of leakage include:
- In the rubber gasket area: the saddle valve clamp bolts need to be slightly tightened.
- In the saddle valve packing nut region: use an adjustable wrench, channel locks, or players to retighten it.
- At the saddle valve’s connection to your water line / plastic tube/copper tubing: this one might leak when pressure builds up inside the line after connecting the other end to the appliance. It is either necessary to tighten the compression nut on the saddle valve again or to remove it and examine whether the compression sleeve or insert are properly installed.
Is It Safe to Use Saddle Valves?
Saddle valves are not permanently attached and are therefore susceptible to leaks. This could potentially cause extensive property damage. By reducing water flow, saddle valves often become clogged and leak. Leaks can result in severe damage to property.
Is There A Better Alternative To a Saddle Valve?
Push-fit tee connectors designed for ice makers and water dispensers also offer a DIY-friendly but more reliable alternative to saddle valves. A short section of pipe is cut out, and the tee is installed directly into the water line; then, a small supply line is added to the appliance.
Download How to Install Saddle Valves PDF
You can download this article in PDF format by clicking on the download link provided below.
Buy Equipment or Ask for a Service
By using Linquip RFQ Service, you can expect to receive quotations from various suppliers across multiple industries and regions.
Click Here to Request a Quotation From Suppliers and Service Providers
Read More In Linquip
- Solenoid Valve Installation Costs: Main Factors + PDF
- Air Release Valve Installation Costs (Ultimate Guide) + PDF
- Ball Valve Installation Costs & Repair (Ultimate Guide)
- Angle Valve Installation Costs: Practical Factors
- Globe Valve Installation Costs (Clear Guide) + PDF
- Gate Valve Installation Costs and Maintenance (Clear Guide)
- 6 Main Types of Expansion Valves: an Easy to Understand Guide
- Angle Valve: The Most Essential Tips of Features, Functions & Applications
- Globe valve parts 101: All you need to know in one place
- The 10 Best Sprinkler Valves
- What is Automatic Expansion Valve: A Basic Guide

