An air-source heat pump (ASHP) is an innovative and environmentally friendly way of providing hot water and heating all year round. Currently, many people especially those who are off the mains gas grid, prefer to fit an air source heat pump. Straightforward and relatively affordable to install compared to some renewables, if specified correctly this tech can help you achieve significant savings on household energy bills.
An air source heat pump operates by transferring heat from an enclosed chamber to the outside air. This heats radiators and supplies household hot water through wet central heating systems. Like a refrigerator, heat pumps take the heat and transfer it to another medium. Air source heat pumps are available from a variety of suppliers and companies, as well as various Manufacturers and distributors, and there are many Heat Pumps for Sale on Linquip.
There is a comprehensive list of heat pump services on the Linquip website that covers all OEM fleets. Linquip vendors can support you with this. Please contact Heat Pump Experts in Linquip to learn more about how to connect with a diverse group of Service Providers who consistently deliver high-quality products.
In this article, we will provide you with useful information on installing an air source heat pump and ways to find air source heat pump installers near me. Read this new blog in Linquip to find out more.
⇒ View a List of Heat Pumps for Sale and Their Suppliers ⇐
What Is an Air Source Heat Pump?
An air-source heat pump (ASHP) is a system that transfers heat from outside to inside a building or vice versa. Under the principles of vapor compression refrigeration, an ASHP uses a refrigerant system involving a compressor and a condenser to absorb heat at one place and release it at another. They can be used as a space heater or cooler and are sometimes called “reverse-cycle air conditioners”.
In domestic heating use, an ASHP absorbs heat from the outside air and releases it inside the building, as hot air, hot water-filled radiators, underfloor heating, and domestic hot water supply. The same system can often do the reverse in summer, cooling the inside of the house. When correctly specified, an ASHP can offer a full central heating solution and domestic hot water up to 80 °C.
How Do Air Source Heat Pumps Work?
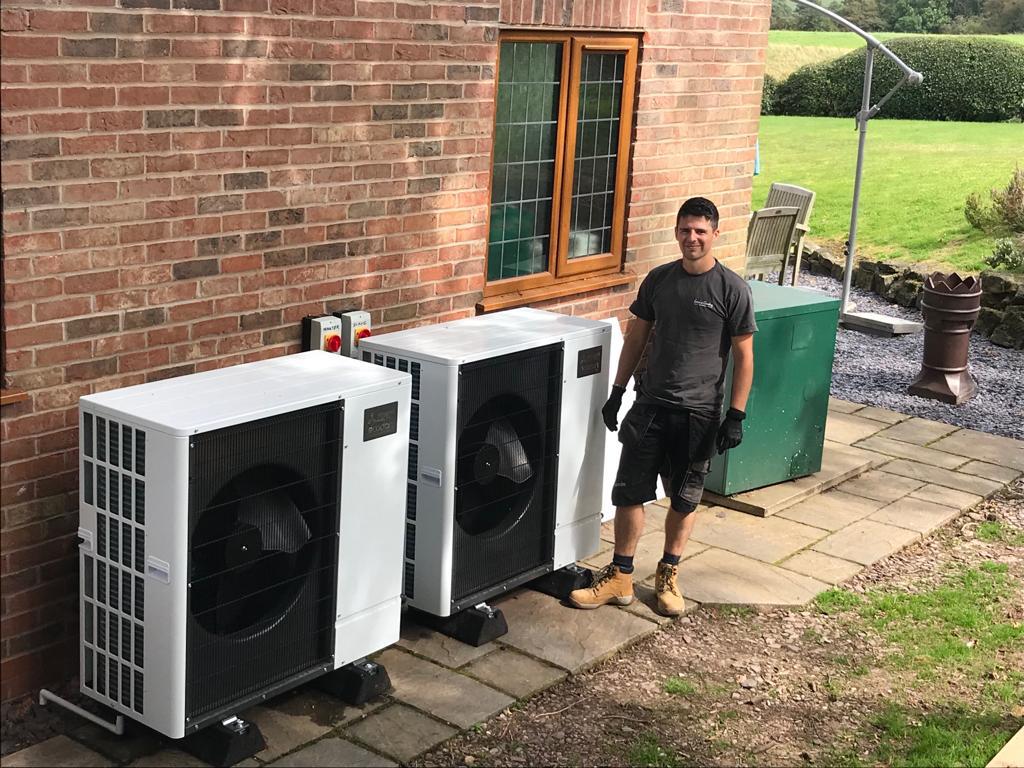
An air-source heat pump is usually placed outdoors at the side or back of a property. The heat from the air is absorbed at low temperature into a fluid. This fluid passes through a compressor, increasing the temperature, and transfers that higher temperature heat to the heating and hot water circuits of the house.
Do Air Source Heat Pumps Work in Winter?
Contrary to common assumption, air-source heat pumps function quite well in the winter—even in extremely cold areas. Heat pumps are currently the finest heating alternative almost everywhere on earth.
Do Air Source Heat Pumps Work with Radiators?
With radiator circuits or combinations of radiators and underfloor heating, air source heat pumps perform exceptionally well. The underfloor circuits will include a “blending valve” to lower the principal flow temperature, which should be set at 50°C to feed the radiators.
Do You Need a Water Tank with an Air Source Heat Pump?
When used for heating or cooling, an air source heat pump normally does not need a water tank. However, when air to the water heat pump is also being utilized to deliver household hot water, a water tank will be required because a heat pump can’t produce enough hot water on demand.
The process of Installing an Air Source Heat Pump
As with any home changes or additions, air source heat pump installation has a few steps which are as follows.
-
The inspection
Any installation will begin with a proper inspection of your property. This will ensure that the ASHP that is being recommended is the most appropriate one for your needs. A mutually convenient appointment time will be arranged so that an engineer can visit and make a full assessment. This will allow the engineer to produce a written report of recommendations and even give you an indication of the savings that you might be able to make.
The engineer also assesses your heating needs, how large the home is, the installation level within the home, how would you like heat distributed (underfloor heating, radiators, etc.), and more. Detailed sketches of the rooms in your property can be used to help the installers to complete the work as efficiently as possible.
-
The installation
- Installing indoor units
- Creating access points inside of the home
- Connecting outside pipe to the indoor unit
- Installing outdoor unit
- Connecting wiring & electricity
- Finishing touches
Ductless heat pump systems are easier and faster to install than ducted systems. The actual installation process takes one day per indoor unit, on average. Systems with multiple units or those that use ductwork will have a longer installation process. Most installations will follow six steps that are described below.
Step 1: Installing indoor units
Most will start by setting up the indoor unit for your air source heat pump.
If you’ve chosen to install a ductless system, the contractor will locate an unobstructed place on the wall inside the zone to place the installer unit. The installer will install a mounting plate to hold up the indoor unit, and then secure the indoor unit to it.
If you’ve chosen a ducted system, your installer will also need access to your ductwork so that they can connect the indoor unit to the ductwork (whether in the attic, basement, or elsewhere). If you have existing ductwork that the contractors will use, they may also take this time to do any necessary repairs to maximize the efficiency of your new heat pump system. If you don’t have existing ductwork in your home, installing ductwork to circulate the air will be one of the first steps they take.
Step 2: Creating an access point in a wall for connection
There needs to be an access point between the indoor unit or air handler and the outdoor condenser. To create this, your installer will drill a hole in the wall to run piping and lines.
This will provide an outlet for the refrigerant lines, electrical lines, as well as a condensate drain line that will transport water from the indoor unit to the outside. The installer will use a hole saw on the exterior of your home, as well as the room where the indoor unit is installed for a mini-split system. In a ducted system, the access point is where the indoor air handler is going to be located in your home (most often in an attic or basement).
Step 3: Connecting the pipes to the indoor unit
Next, the refrigerant line and the condensate line are connected to the indoor units. The refrigerant lines allow refrigerants to cycle through the indoor and outdoor condensers. Depending on whether your air source heat pumps are heating or cooling at the time, the lines will transport warm or cool liquid to the indoor units, which is then forced as air in the zone.
Step 4: Installing the outdoor unit
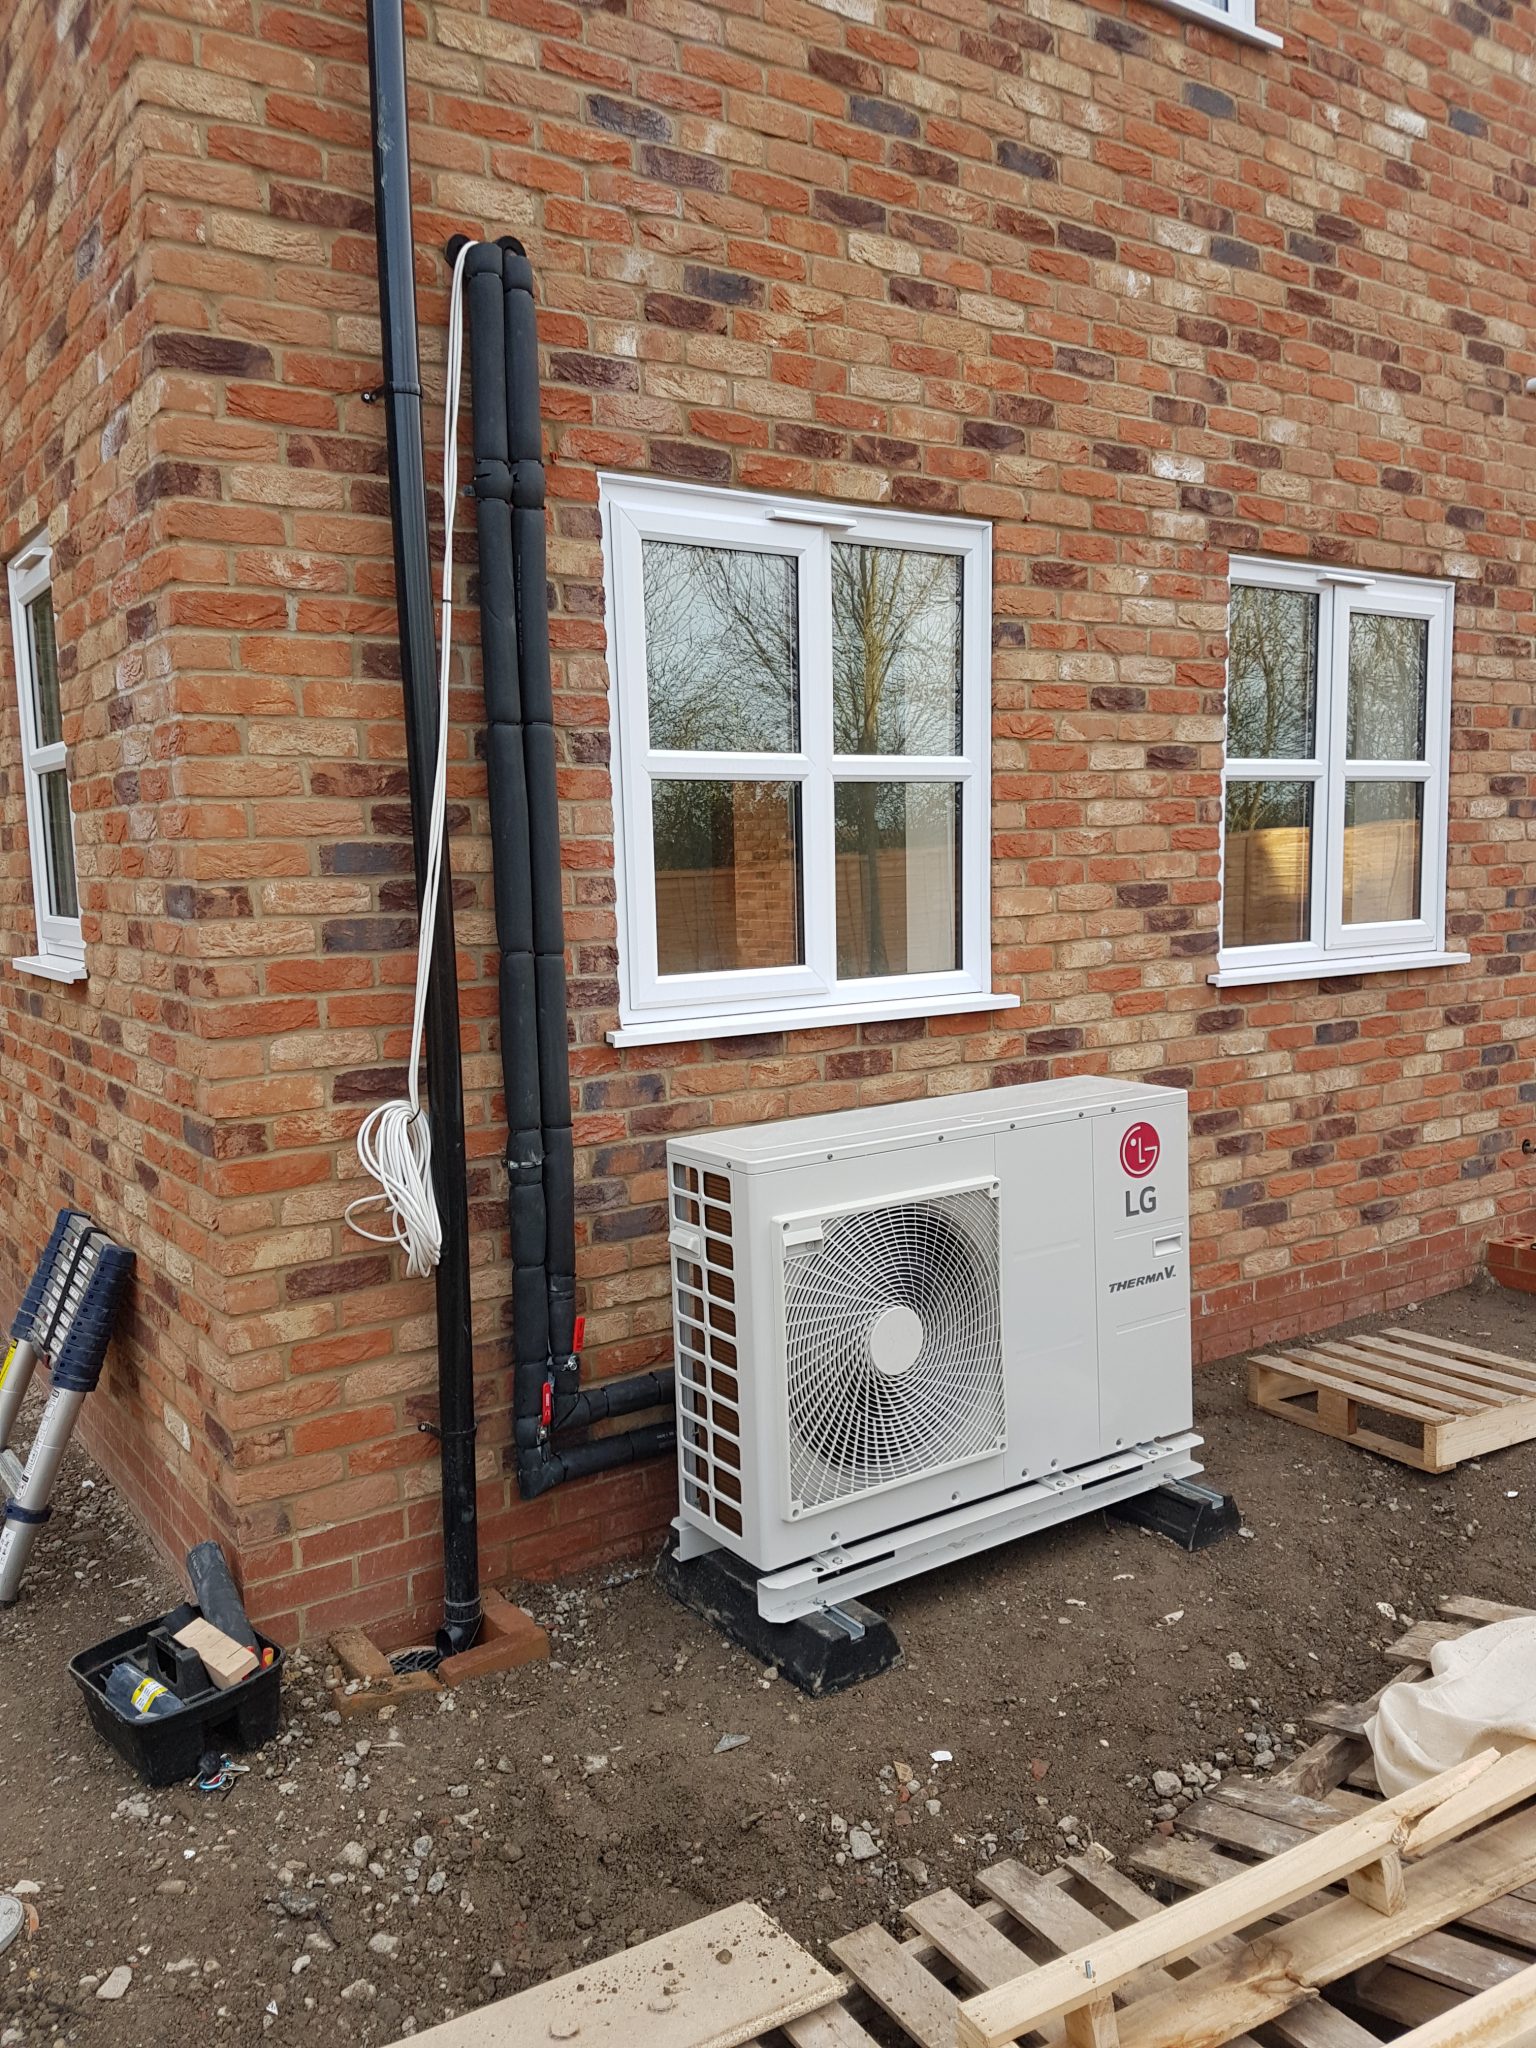
Once the indoor unit is ready, your contractor will install the outdoor unit. For larger (packaged or central systems), installers will typically put a concrete slab on the ground to hold the outdoor condenser. If this is a mini-split system or an air source heat pump with a smaller system, it will often be mounted to the side of your home. This will typically be lifted above the ground, especially in colder areas where the installer will ideally mount the system above possible snowlines.
Step 5: Connecting wiring and electricity
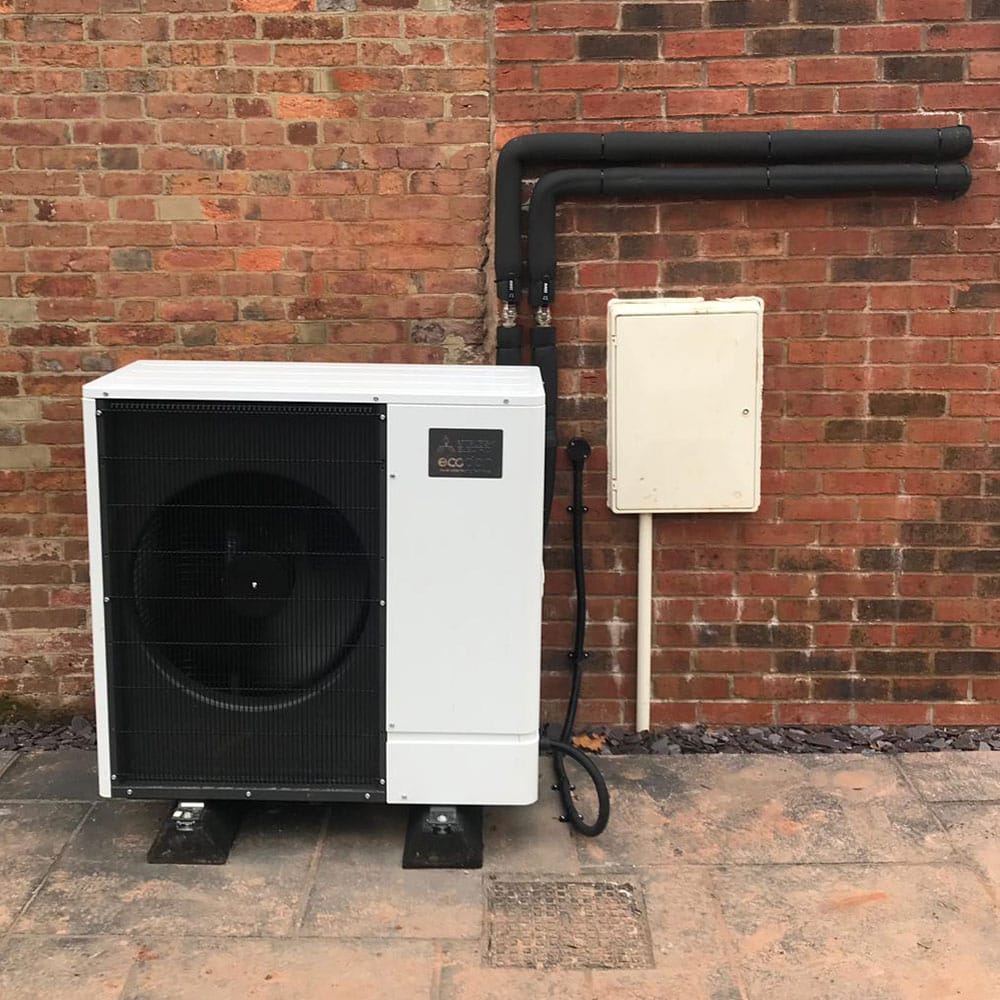
After the indoor and outdoor units are installed, your installer will connect them through the refrigerant line and electrical wires. Installers will either insulate these lines and run the lines through conduits on the side of your home to protect the wiring from the elements. A drain line will also be installed on the outside of the home to bring condensation from the unit away from the inside of your home.
Step 6: Finishing touches
There are a few finishing touches that need to be completed to finish installing the system. One is to affix the pipes to the sides of your home so they’re secure. Another is to install sensors, many air source heat pumps will come with sensor technology to communicate the temperature in different zones to your thermostat. Many air source heat pumps also come with wireless remotes to adjust the temperature, and allow monitoring and changes to be done with an internet connection on your computer, tablet, or phone.
-
The Maintenance
Air source heat pumps can have a lifetime of over 20 years; if cared for properly, little maintenance should be required within that time. The maintenance you can perform to ensure the unit operates as intended is:
- Clean and or swap out filters
- Clean coils and fans (if necessary)
- Ensure proper airflow is not impeded by debris (leaves, dust, etc.)
- Clean the supply and return registers inside the property
- Power off the unit and check / clean fan blades.
Before the winter (or summer if used for cooling) it is recommended to have the unit serviced by a professional who will conduct a more advanced audit of the components and identify issues that could degrade the heat pump’s performance, which a user would not spot or be able to diagnose. These checks will comprise of the following:
- Check ducts for leakage and repair if necessary
- Inspect filters, ducts, blower, and indoor coil for dirt and other obstructions
- Measure airflow is correct
- Check refrigerant levels and pressure
- Check all electrical contacts and ensure they are protected from the elements
- Check for system leaks
- Check reverse heating/cooling controls and verify they are operating as required
- Lubricate moving belts, motors and check for damage/wear and tear
- Check and test the thermostat under normal operating conditions.
For the most part and unlike other renewable energy technologies, such as solar PV and wind turbines which use costly inverters, heat pumps do not generally require the replacement of expensive parts during their lifetime.
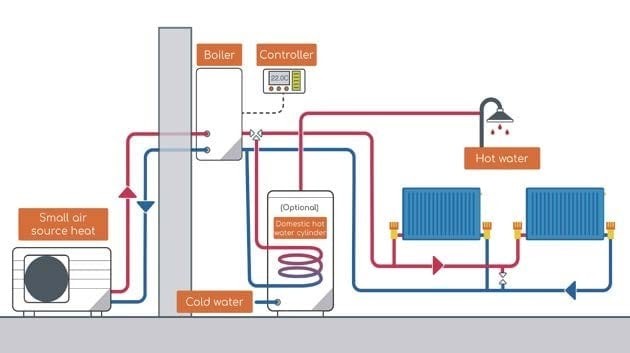
Air Source Heat Pump Installation Diagram
The diagram of the air source heat pump installation is shown in the figure below.
Can I Install Air Source Heat Pump Myself?
After purchasing a heat pump, one can set the units up on their own. This part is not technical and does not require a permit, and will save money in the installation process if the unit is already mounted in its place when the certified technician comes to install it. The heat pump is composed of two main units, outdoor and indoor. To exemplify how to save cost on installation, the outdoor unit can be set up outside and the indoor unit can be set up on a wall bracket or a wall stand and await installation.
However, this is the only thing you can do as an individual if you are not trained in the subject. It is a trained gas installer who must install the heat pump and connect the parts. If you need an air-to-water heat pump installed, there is also a need for a certified technician who connects the heat pump outdoor unit with the indoor unit.
The tasks that do not require a technician and can be done by you, include assembling the main heat pump parts. After the heat pump installation, an authorized installer will connect the parts. Besides, one must even connect electricity, as there are some rules and regulations to be observed concerning this. Therefore, you must have a licensed electrician to do this.
Air Source Heat Pump Installation Instructions
When setting up an air-to-source heat pump, minimize noise, and maintain good relations with your neighbors. You must set your heat pump outdoor unit a minimum of 5-10 meters from the boundary with your neighbor, so they are not bothered.
Air Source Heat Pump Installation Cost
The cost of air source heat pump installation will depend on several factors including the model you go for and its size. The complexity of the installation will also have an impact. For example, if you want to install a new underfloor heating system or change your radiators, the cost of installation will rise.
As a very rough guide, installing a typical system tends to cost between £7,000 and £9,000. Keep in mind that combining the installation with other building work can lower the cost.
When considering the numbers, it’s important to factor in the savings you could make as a result of an air source heat pump thanks to lower energy bills and the potential to earn money through the Renewable Heat Incentive. To optimize your savings, ensure your property is well insulated and you have a suitable heat distribution system.
Also, make sure you have a clear understanding of the controls. This will help ensure you operate the system as efficiently as possible.
So, there you have a detailed description of installing an air source heat pump. If you enjoyed this article in Linquip, let us know by leaving a reply in the comment section. Is there any question we can help you through? Feel free to sign up on our website to get the most professional advice from our experts.
Buy Equipment or Ask for a Service
By using Linquip RFQ Service, you can expect to receive quotations from various suppliers across multiple industries and regions.
Click Here to Request a Quotation From Suppliers and Service Providers
Read More On Linquip
- What is Plate Heat Exchanger?
- A General Overview of Heat Pump Problems
- Heat Pumps vs Air Conditioners: The Everlasting Battle
- The Complete Guide To Air Source Heat Pumps Disadvantages
- What Are Air Source Heat Pumps? A Complete Guide
- Parts of Boiler and Their Function in the Boilers
- Working Principle of Plate Heat Exchanger
- Level Up Your Indoor Air Quality by High Velocity Air Conditioning Systems
- 16 Parts of Heat Pump and Functions (Clear Guide)
- 3 Types of Heat Pump + Working Principle ( Clear Guide)
- Heat Pump Efficiency: Equation & Formula
- How Does a Heat Pump Work?
- Best Mini Split Heat Pump for Cold Weather in 2022 {Ultimate Guide}
- How to use a heat pump in winter: learn the basics, get the most out of it


Your information is really awesome as well as excellent and I got more interesting information from your blog.
We appreciate you visiting our website. We also invite you to visit the Linquip website, where you may find tens of thousands of professionals, organizations, and industrial machinery tailored to your needs and applications.